

Some of the links in this post are affiliate links. This means that if you click on a link and purchase the item, we may receive an affiliate commission at no additional cost to you. We only recommend products or services that we believe will add value to our readers and are aligned with our values.
With Mother’s Day just around the corner, it’s the perfect time to get crafty and show Mom how much you care with a handmade card. In this step-by-step tutorial, we’ll guide you through the process of creating a stunning and cheerful Mother’s Day card using a pencil coloring technique. Using some fabulous materials from Altenew, along with a few other supplies, you’ll be able to create a personalized card that Mom will cherish. So, let’s roll up our sleeves and get started on this delightful crafting adventure!

Techniques you’ll learn
Stamping with Clear Stamps, Pencil Coloring, Dimension with Foam Adhesive, Embellishing with Clear Drops
Materials
(If you love the products used in this tutorial, click links to shop now! These are my personal favorites 🙂 Plus, if you purchase the supplies through my affiliate links, you’ll not only support my channel, but you’ll also get everything you need to create your own beautiful handmade cards.)
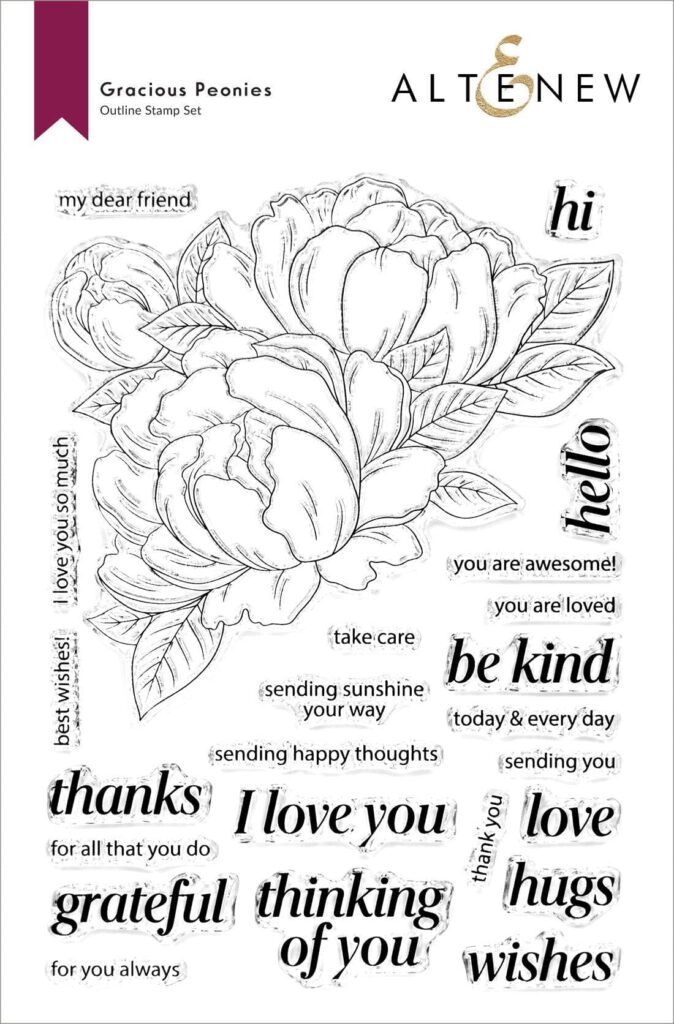
- Clear Stamps by Altenew: Wild Hibiscus Stamp and Sketchy Florals
- Tombow Mono Multi Liquid Glue
- 110 lb smooth white cardstock by Michaels
- Versafine ONYX black ink
- Faber Castell Polychromos colored pencils set of 120 pencils
- Clear drops by Studio Katia
- Tonic Studio – Tim Holtz Stamp Platform
- Foam
Step-by-step Instructions
Step 1: Stamping the Floral Image
To begin, prepare a standard A2 card base measuring 4.25 X 5.5 inches. Using the Tonic Studio’s Tim Holtz Stamp Platform, stamp the large floral image from the “Sketchy Floral” set by Altenew onto the card base using Versafine ink. The stamp platform will help you achieve precise positioning and clear, crisp results.
Step 2: Coloring the Floral Image
Once the image is stamped, it’s time to relax and start coloring! Grab your Faber Castell Polychromos colored pencils and choose colors in shades of reds, greens, yellows, teals, and blues to create a vibrant and spring-inspired look. Use light layers of color and shading techniques to add depth and dimension to the floral image. Leave some white soft spots to give a natural and realistic effect.
Step 3: Adding Sentiment and Dimension
Next, stamp the sentiment “Happy Mother’s Day” or any other message of your choice from the “Wild Hibiscus” set by Altenew onto the card base. Choose a placement that complements the floral image and gives a balanced look to the card. To add some dimension and make the sentiment stand out, adhere it using foam tape or foam squares.
Step 4: Adding Extra Interest
To finish off the card, add some clear drops by Studio Katia. You can strategically place them around the floral image to give extra interest and embellishment to the card. The clear drops will add a touch of elegance and sparkle to your Mother’s Day card.
Tips:
- Before starting, visualize the placement and look of the floral image on the card base.
- Plan your color palette and choose your coloring medium beforehand for easier execution.
- Be mindful of the size and shape of the sentiment and embellishments, as they can impact the overall design of the card.
There you have it! A step-by-step tutorial on how to create a spring-inspired Mother’s Day card using a pencil coloring technique. Handmade cards are a thoughtful and heartfelt way to express your love and appreciation for Mom on her special day. We hope this tutorial inspires you to create a beautiful card that Mom will treasure. Happy crafting, and Happy Mother’s Day!
Challenges –
Altenew April 2023 Inspiration Challenge