
Some of the links in this post are affiliate links. This means that if you click on a link and purchase the item, we may receive an affiliate commission at no additional cost to you. We only recommend products or services that we believe will add value to our readers and are aligned with our values.
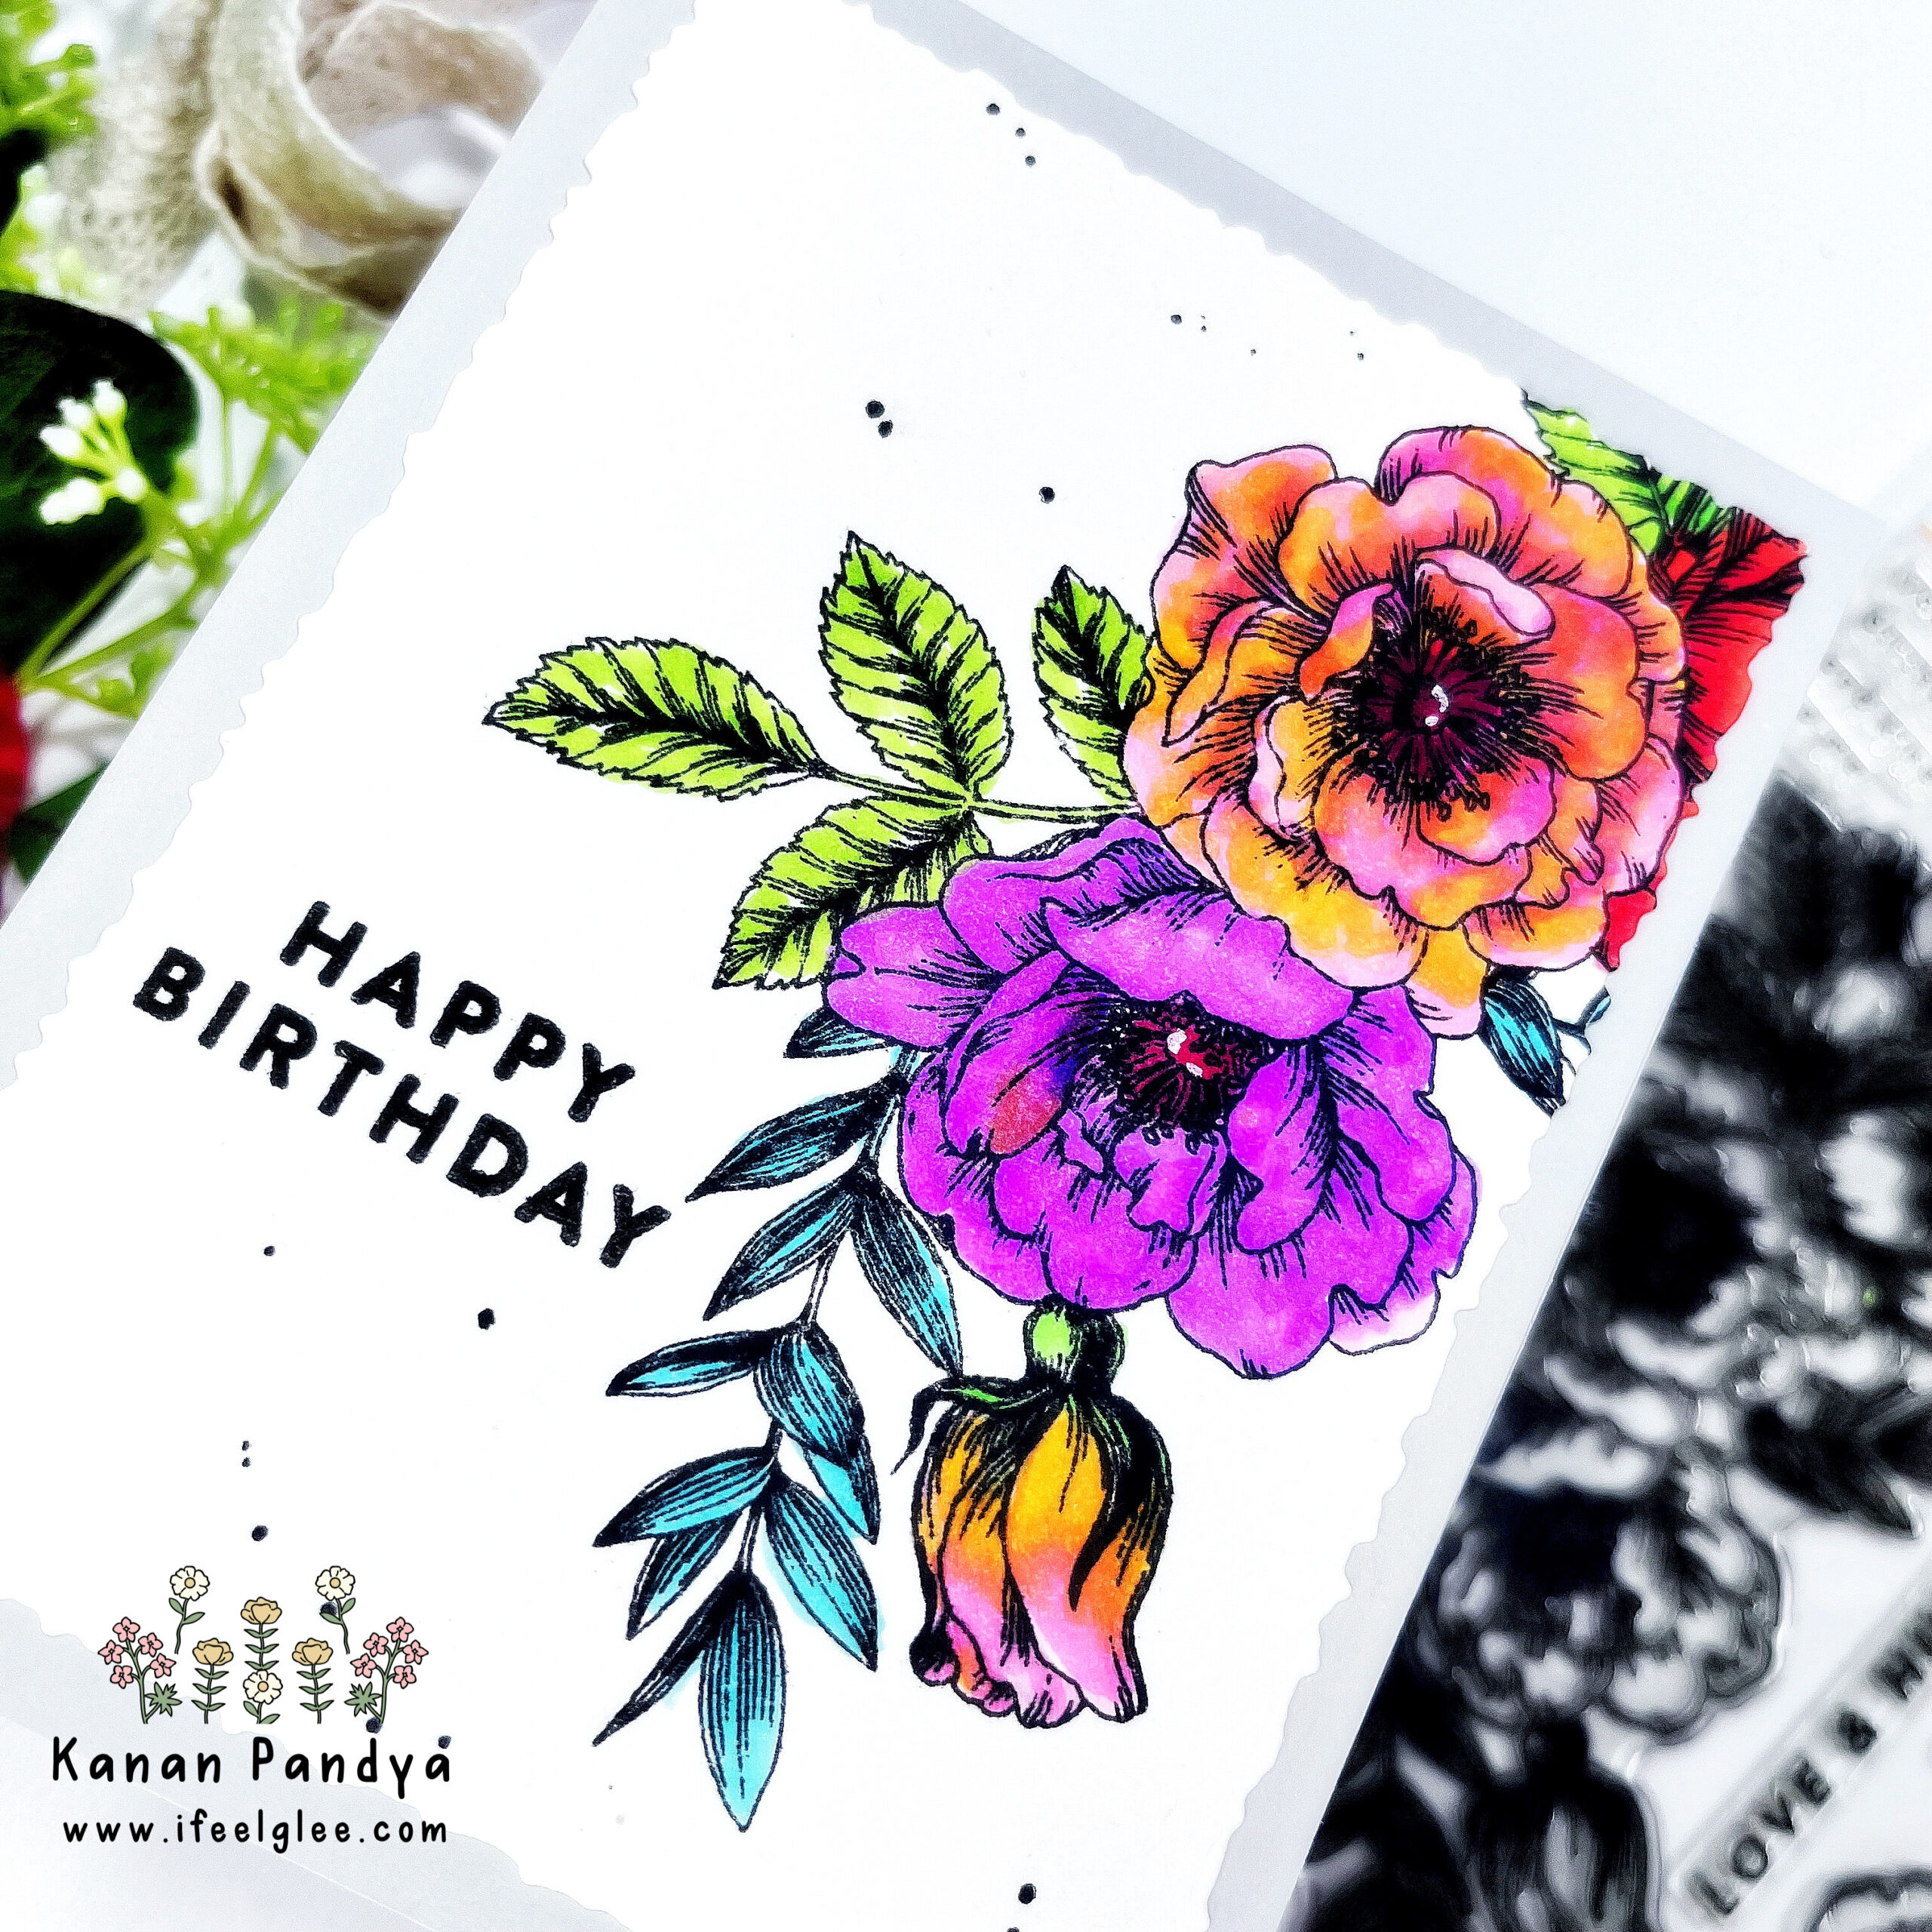
I’m here with the beautiful floral card as I’m already missing spring and eagerly waiting for it.
Techniques you’ll learn
Stamping, Copic coloring, die-cutting.
Materials
(If you love the products used in this tutorial, click links to shop now! These are my personal favorites Plus, if you purchase the supplies through my affiliate links, you’ll not only support my channel, but you’ll also get everything you need to create your own beautiful handmade cards.)
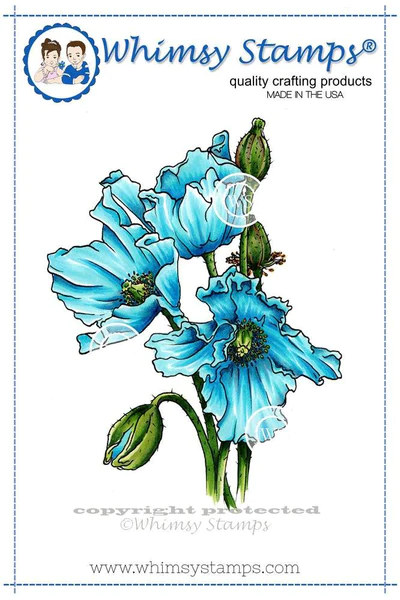
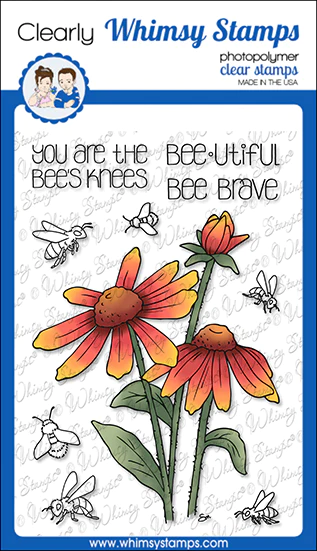
Clear Stamps by Simon Says Stamp – Beautiful Flowers
Die – Hello Bluebird – Nesting Deckle A2 Die
Inks – Memento Black Ink
Colors – Copic MarkerS

Step-by-step Instructions
Step 1: I die-cut the front panel and stamped the “Beautiful Flowers” stamp on it.
Step 2: Use bright shades of Copic markers to Colour it.
Step 3: I wanted to give it a look of watercolor so I used the marker differently and added the colors randomly on the flower image.
Step 4: Added a few details using a white gel pen and also added black splatters for that amazing effect.
Step 5: Lastly, add the sentiment.
Step 6: My card was done. I love the finished look of it. The coloring on the flowers looks so different and beautiful.
Happy Crafting.