

Some of the links in this post are affiliate links. This means that if you click on a link and purchase the item, we may receive an affiliate commission at no additional cost to you. We only recommend products or services that we believe will add value to our readers and are aligned with our values.
Techniques you’ll learn
Embossing, Dye cutting, Stamping
Materials
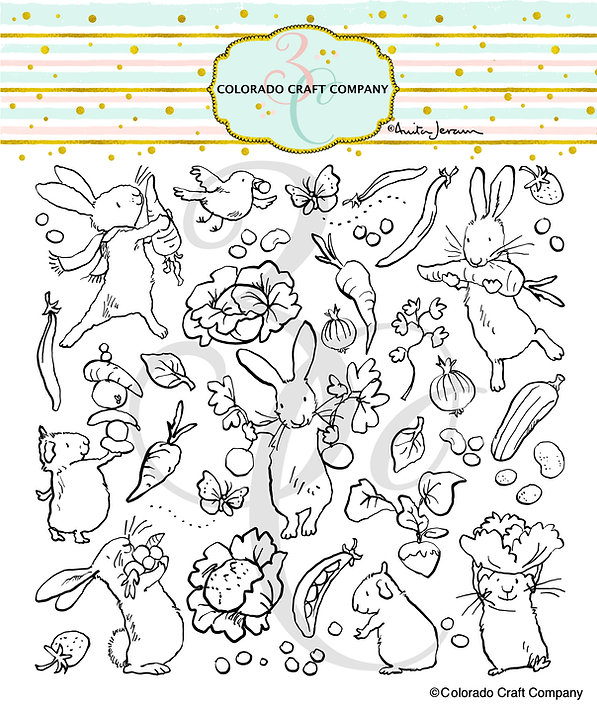
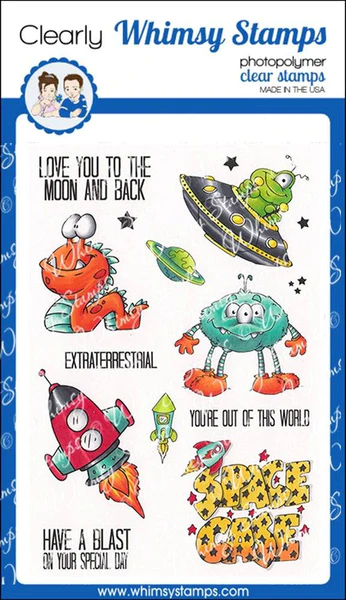
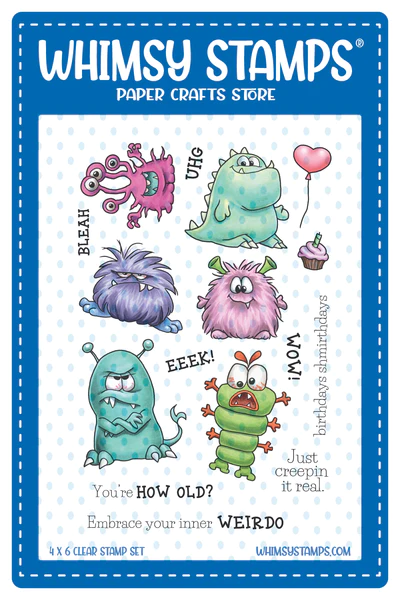
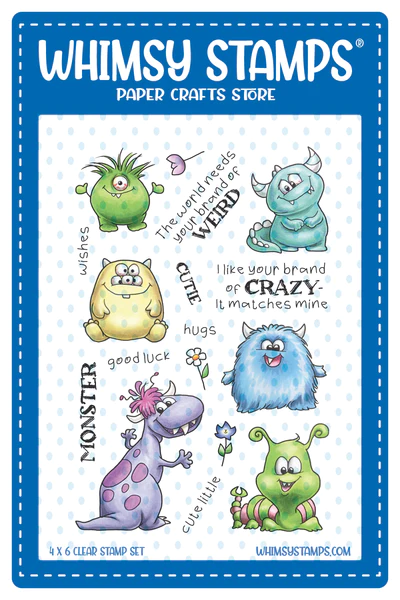
- MFT stamps
- Polychromos pencils
- Distress inks
- White cardstock
- Black ink
- Acrylic block
- Foam tape or adhesive dots
- Scissors
- Paper trimmer
Step-by-step Instructions
Step 1: Choose your MFT stamp images and stamp them onto white cardstock using black ink. Use an acrylic block to position the stamps and apply even pressure to transfer the ink to the paper.
Step 2: Use your Polychromos pencils to color in the stamped images. Blend the colors as necessary to achieve your desired look. You can also add details with a fine-tip black pen if desired.
Step 3: Cut out the colored images using scissors or a paper trimmer, leaving a small border around each one.
Step 4: Choose your Distress ink colors and ink up a foam applicator or blending tool. Use a circular motion to apply the ink to a piece of white cardstock, creating your desired background pattern.
Step 5: Cut the inked cardstock to the size you want for your card base.
Step 6: Use foam tape or adhesive dots to attach your stamped and colored images to the front of the card base.
Step 7: Optional – stamp a sentiment onto white cardstock using black ink and cut it out. Attach it to the card using foam tape or adhesive dots.
Please follow and like us: