

Some of the links in this post are affiliate links. This means that if you click on a link and purchase the item, we may receive an affiliate commission at no additional cost to you. We only recommend products or services that we believe will add value to our readers and are aligned with our values.
Materials needed:
- White cardstock
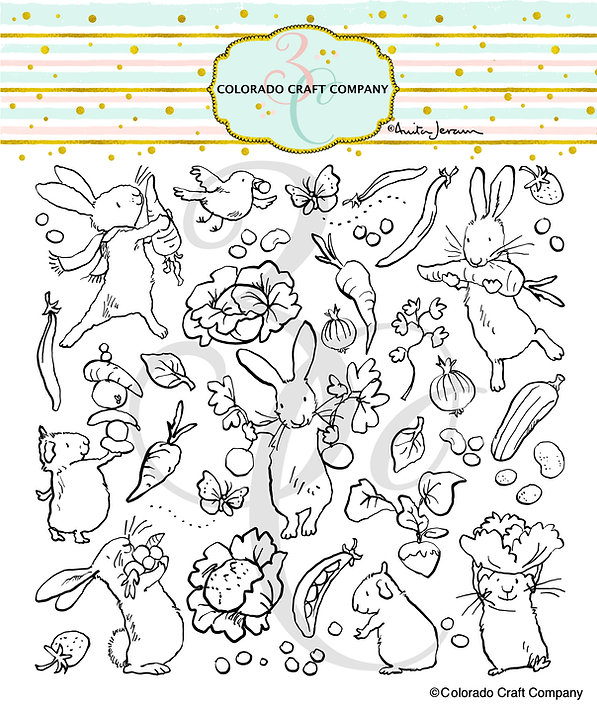
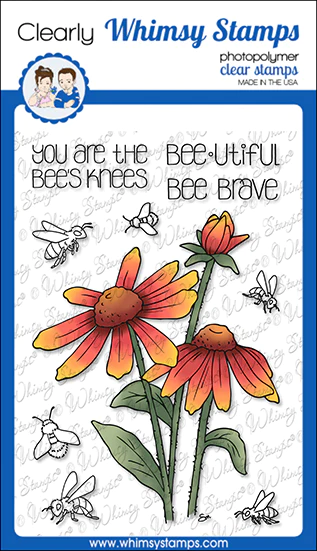
- Hero Arts “A Warm Welcome” stamp set (or any other stamp set with nature-inspired images)
- Hero Arts inks (or any other inks of your choice)
- Ink blending tool
- Adhesive tape
Step-by-step Instructions
Step 1: Cut the white cardstock into the desired size for your card. Fold the cardstock in half to create a card base.
Step 2: Choose the images you want to use from the “A Warm Welcome” stamp set or any other nature-inspired stamp set, and stamp them onto the cardstock using a waterproof black ink. Allow the ink to dry.
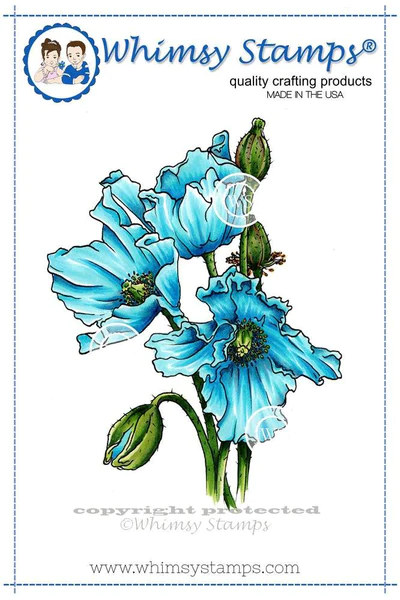
Step 3: Use Hero Arts inks or any other inks of your choice and an ink blending tool to create a background that represents “The Great Outdoors”. Start with light colors and blend in darker colors for depth and dimension. You can use a mix of greens, blues, and browns to create a forest or mountain scene, or use pinks and purples to create a beautiful floral scene.
Step 4: Cut out the stamped images, leaving a small border around the edges.
Step 5: Use adhesive tape to attach the stamped images to the center of the card base.
Step 6: Add any additional embellishments you desire, such as sequins or ribbon.
Step 7: Write your personalized message on the inside of the card, and you’re done!