
Some of the links in this post are affiliate links. This means that if you click on a link and purchase the item, we may receive an affiliate commission at no additional cost to you. We only recommend products or services that we believe will add value to our readers and are aligned with our values.
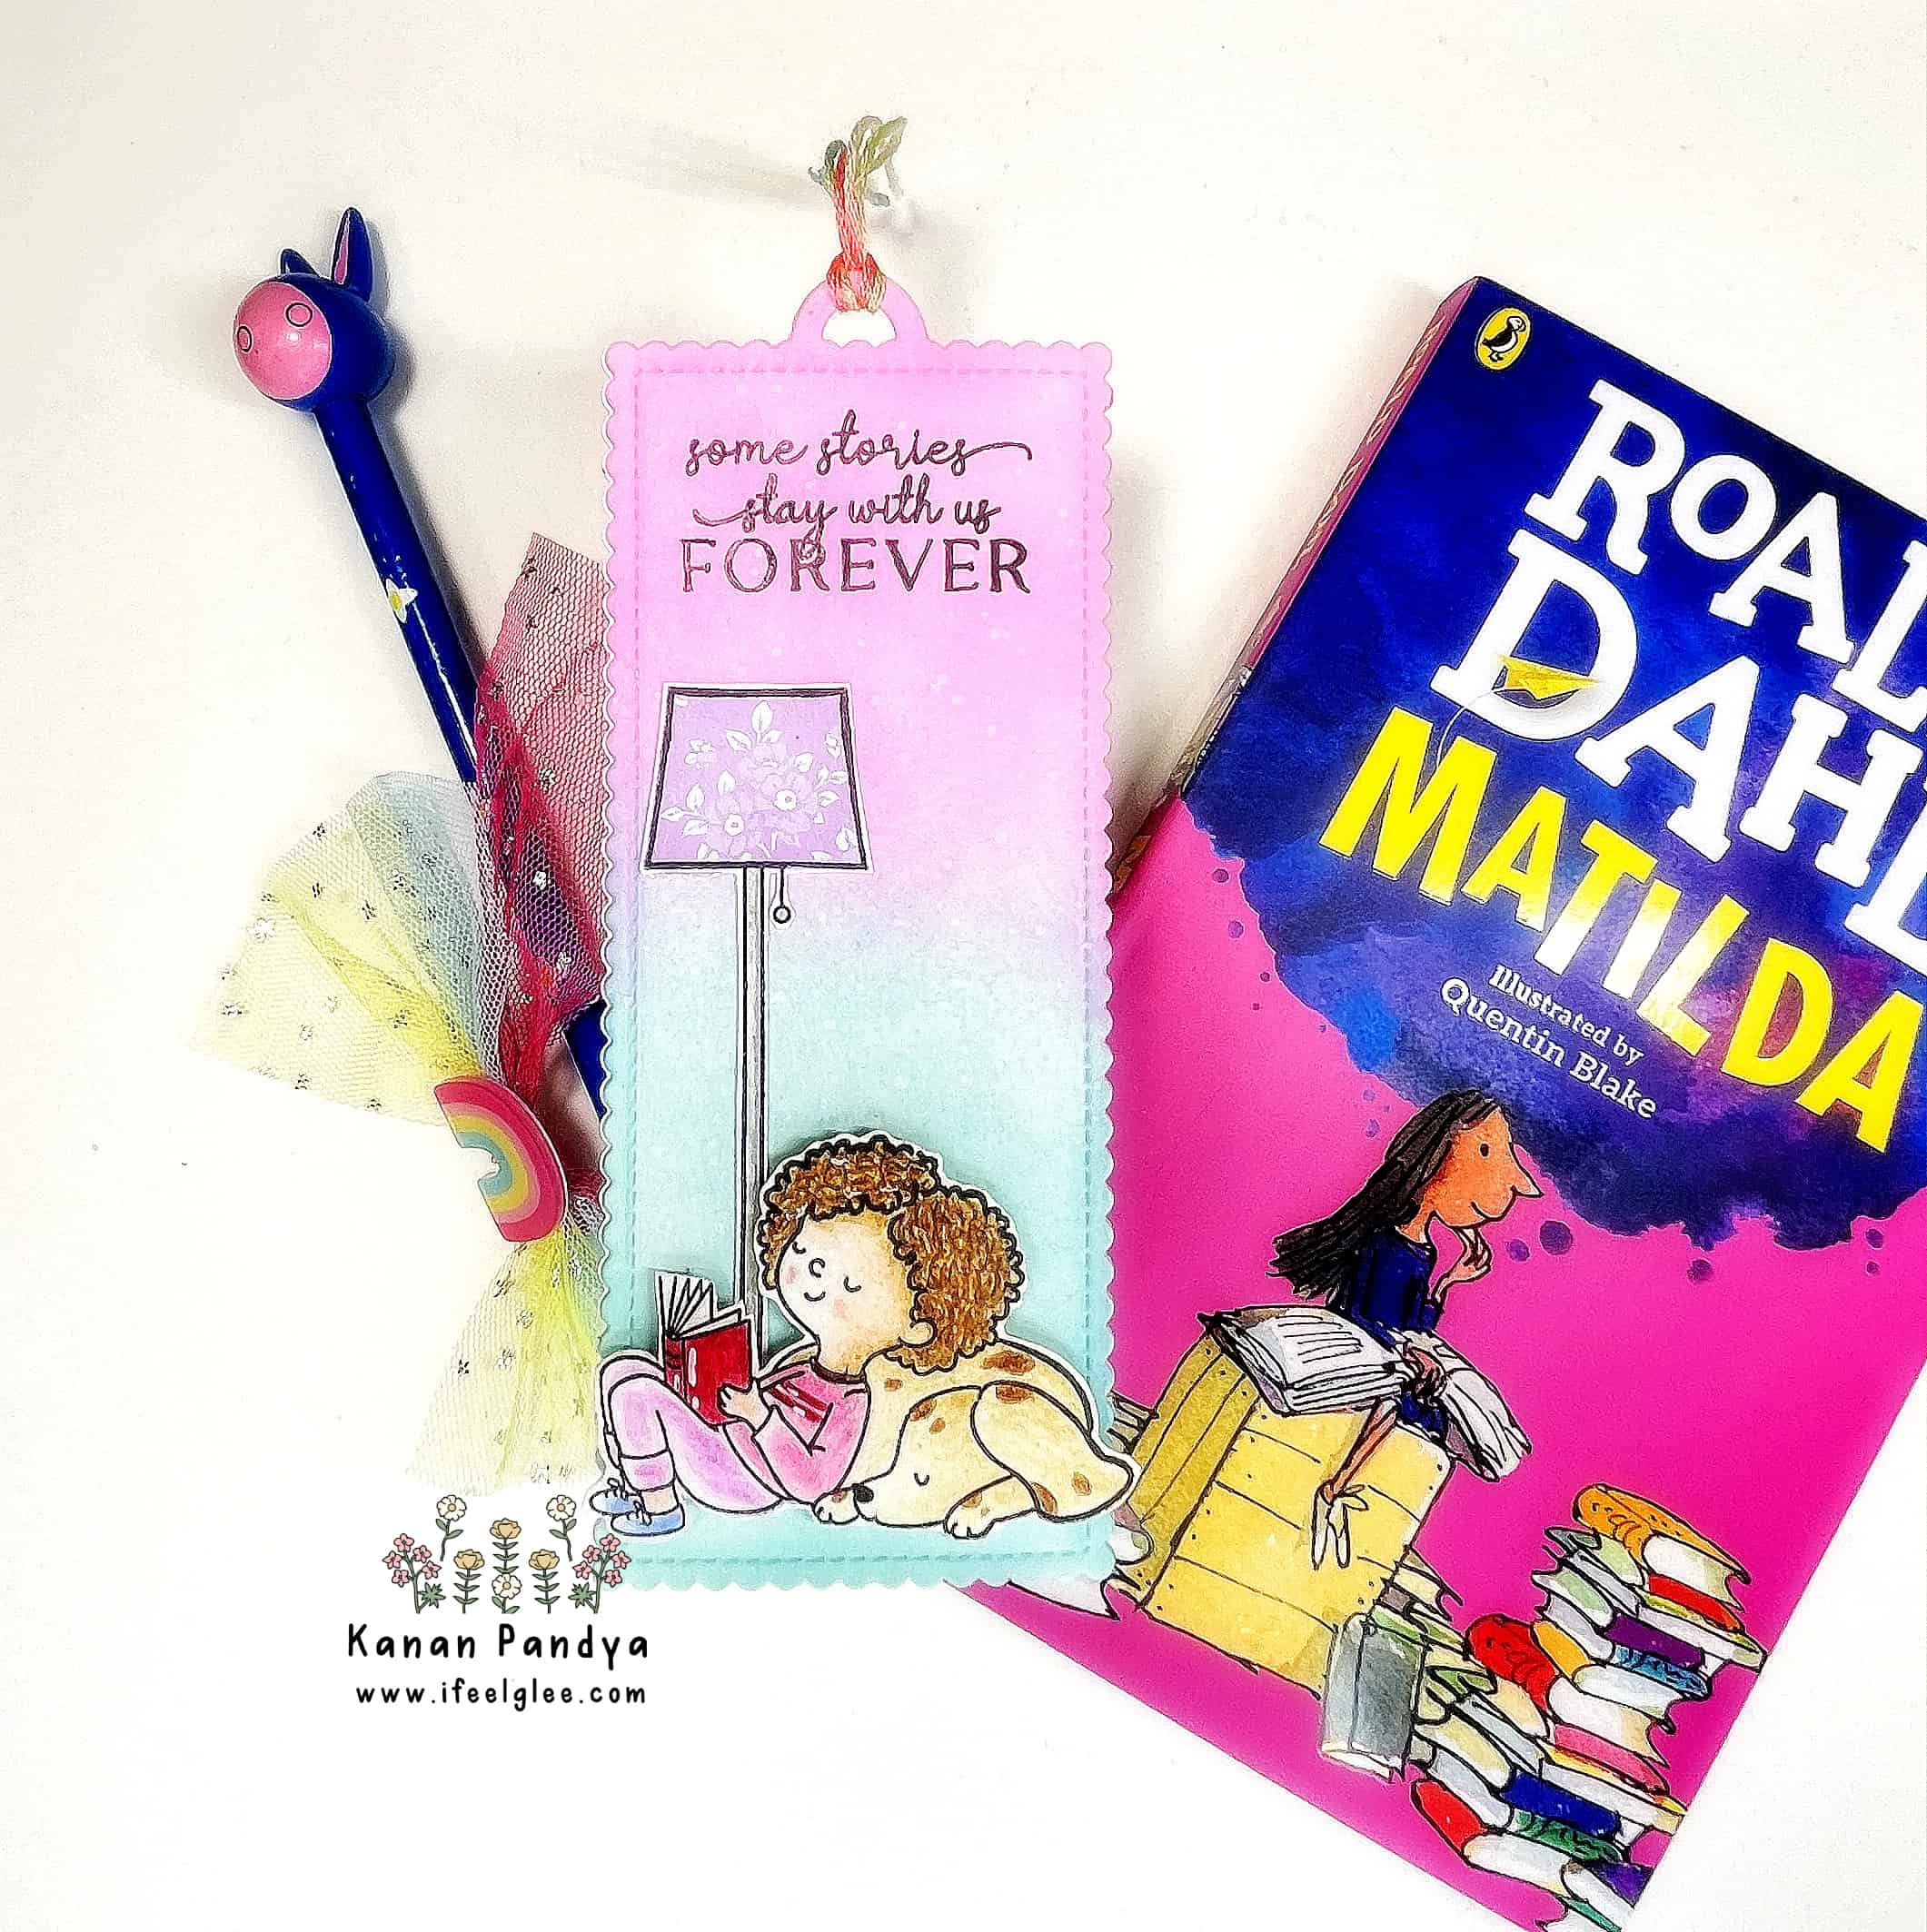
Do you want to make an adorable bookmark for your book-loving friend or family member? There’s something special about handmade bookmarks. They make reading more fun and exciting, especially when it’s a bookmark made just for your loved one! In this tutorial, I will show you how to create an adorable bookmark using ink blending, paper piecing and coloring techniques. This bookmark will make the perfect gift for any book lover in your life, or even just for yourself. I made this sweet bookmark for my daughter who wanted a new one to go with her book.
Techniques You’ll Learn:
- Ink Blending: A technique used to blend two or more colors seamlessly.
- Paper Piecing: A technique where you use different pieces of paper to create a design.
- Coloring: A technique used to add color to an image or design.
Materials:
- Clear Stamps by Hello Bluebird – Page Turner
- Altenew – Tall Tale
- Die Cut – Mama Elephant – Bookmark It – Creative Cuts
- Glue – Tombow Mono Multi Liquid Glue
- 110 lb smooth white cardstock
- Versafine ONYX black ink
- Faber Castell Polychromos colored pencils set of 120 pencils
- Tonic Studio – Tim Holtz Stamp Platform
- Foam
Step-by-Step Instructions:
- To start, die cut two bookmarks using Mama Elephant’s “Bookmark It” die. You can use any die cut you have or even cut the bookmark by hand.
- Using Tim Holtz Distress Oxide inks in “Cliched Flamingo” and “Speckled Eggs,” blend the background of the bookmark until you get the desired effect. The smooth and even look of these inks makes them perfect for ink blending.
- Using Versafine ink and the Tim Holtz Stamp Platform, stamp the adorable image from “Page Turner” set by Hello Bluebird onto the bookmark. This ink is perfect for stamping as it gives a crisp and clear effect.
- Relax and color the beautiful image using Faber Castell Polychromos pencils. I used all the pinks and purples and always leave some soft spots and a little white area near the edges of the images to give the effect of shading.
- For the lamp, use the Paper Piecing technique to mimic the beautiful design we usually see on lamps. Adhere the lamp on the bookmark with no dimension and add the main image using foam for some dimension.
- Stamp the sentiment from the “Tall Tale” set by Altenew to finish off the bookmark.
- Your bookmark is now complete! Use it for yourself or gift it to a book-loving friend or family member.
Tips:
- When making a bookmark, plan your design beforehand as it’s a small space, and one mistake can ruin the entire look.
- Contrast colors work best for bright and cute-looking bookmarks, especially if you’re making them for kids.
- Keep the sentiment a little higher or lower or stamp it in a way that it always stands out so that the recipient can easily see and appreciate the message.
Now you have a beautiful, handmade bookmark to use or give as a gift. Reading just got even more enjoyable!
Please follow and like us: