

Some of the links in this post are affiliate links. This means that if you click on a link and purchase the item, we may receive an affiliate commission at no additional cost to you. We only recommend products or services that we believe will add value to our readers and are aligned with our values.
Hello everyone! Today, I’m going to share with you how to create a CAS and colorful critter card using some fun techniques. This card is perfect for sending someone a little bit of love and cheer. So, let’s get started!

Techniques you’ll learn
Stamping: Using clear stamps to transfer images onto a cardstock or any paper of your choice.
Coloring: Adding color to your stamped images using your preferred coloring medium, such as Faber Castel Polychromos pencils.
Die Cutting: Using a die cutting machine and dies to cut out your stamped images or other shapes to add dimension and interest to your card.
Adhering: Attaching your stamped and colored images onto a card base using adhesive of your choice.
Creating Contrasting Colors: Choosing bright and contrasting colors to keep the design pretty CAS and happy.
Adding Sentiments: Writing or stamping a sentiment to convey your message on your card.
Materials
(If you love the products used in this tutorial, click links to shop now! These are my personal favorites 🙂 Plus, if you purchase the supplies through my affiliate links, you’ll not only support my channel, but you’ll also get everything you need to create your own beautiful handmade cards.)
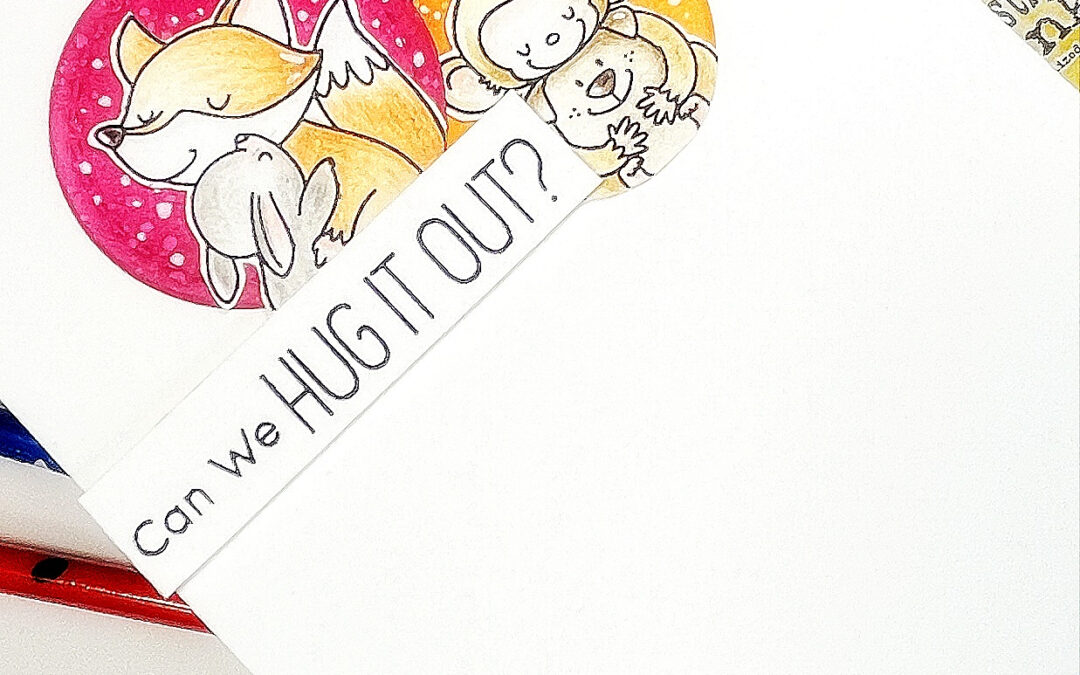
- Clear Stamps by MFT Stamps – Hug It Out
- Glue – Mono Multi Media
- Dies – Sizzix circle die (ON SALE on Amazon) and Waffle Flower Crafts stitched die
Step-by-step Instructions
Step 1: Stamp your images Choose your favorite critter stamps set, in my case, I used the “Hug It Out” stamp set from MFT Stamps. I stamped two darling images onto a piece of white cardstock.
Step 2: Color your images Using my favorite coloring medium Faber Castel Polychromos pencils, I colored my stamped images. You can use any coloring medium of your choice.
Step 3: Die cut your circles Next, I used my Sizzix and Waffle Flower Craft’s Dies to die cut my images into circles. You can use any circle die that you have on hand.
Step 4: Choose your Distress Inks For this card, I wanted happy and contrasting colours to keep the design pretty CAS, so I went with bright shades of Distress Inks.
Step 5: Adhere your images I adhered my images onto the coloured circles using Mono Multi Media glue. You can use any adhesive of your choice.
Step 6: Adhere the circles onto a card base Next, I adhered the circles onto a white card base. You can use any coloured or patterned cardstock for your base.
Step 7: Add your sentiment Lastly, I added my sentiment using a black pen. You can use any sentiment that you like, or even create your own!
And there you have it, a CAS and colorful critter card that is sure to put a smile on anyone’s face. I hope you found this tutorial helpful and inspiring. Happy crafting!
Challenge –
MFT Wednesday Sketch Challenge 644
