
Some of the links in this post are affiliate links. This means that if you click on a link and purchase the item, we may receive an affiliate commission at no additional cost to you. We only recommend products or services that we believe will add value to our readers and are aligned with our values.
- Cardstock
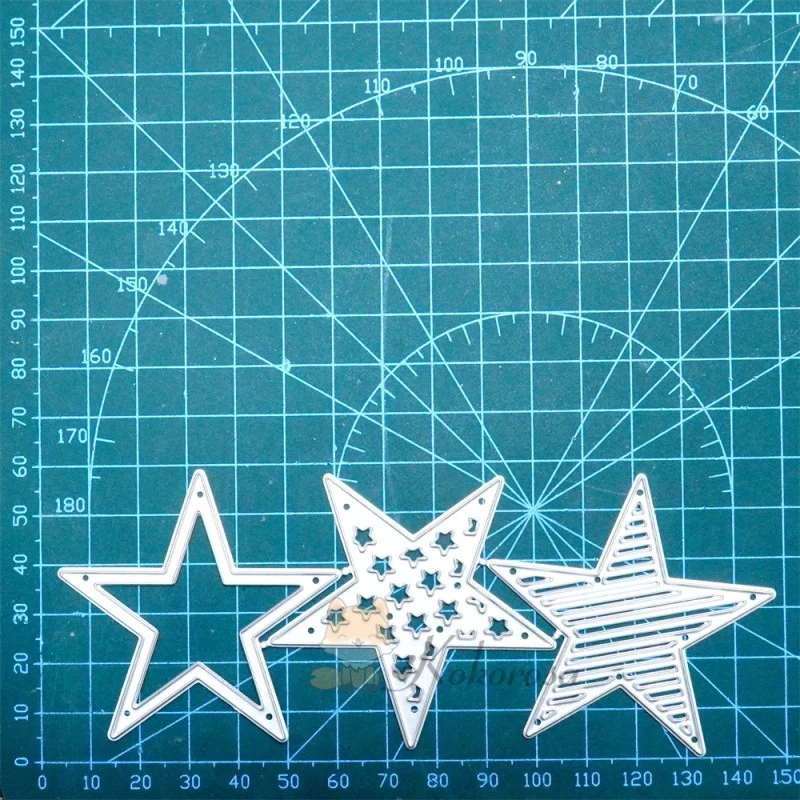
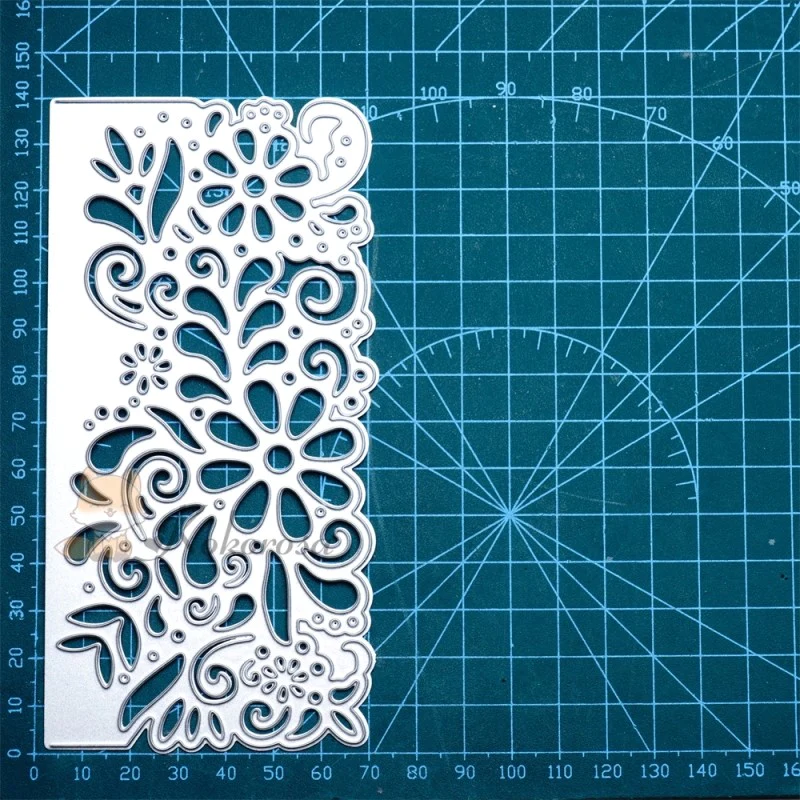
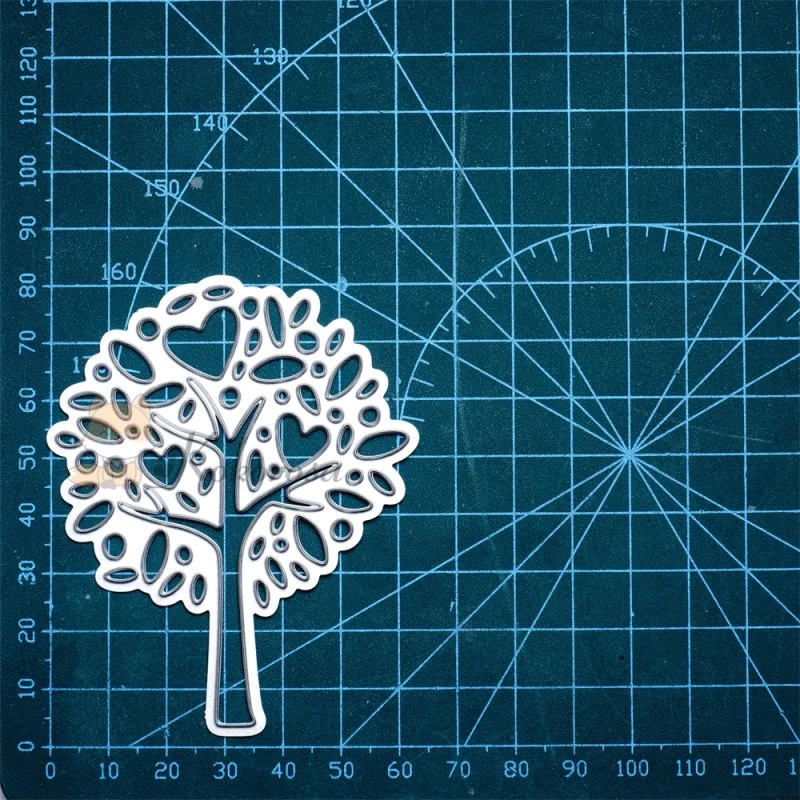
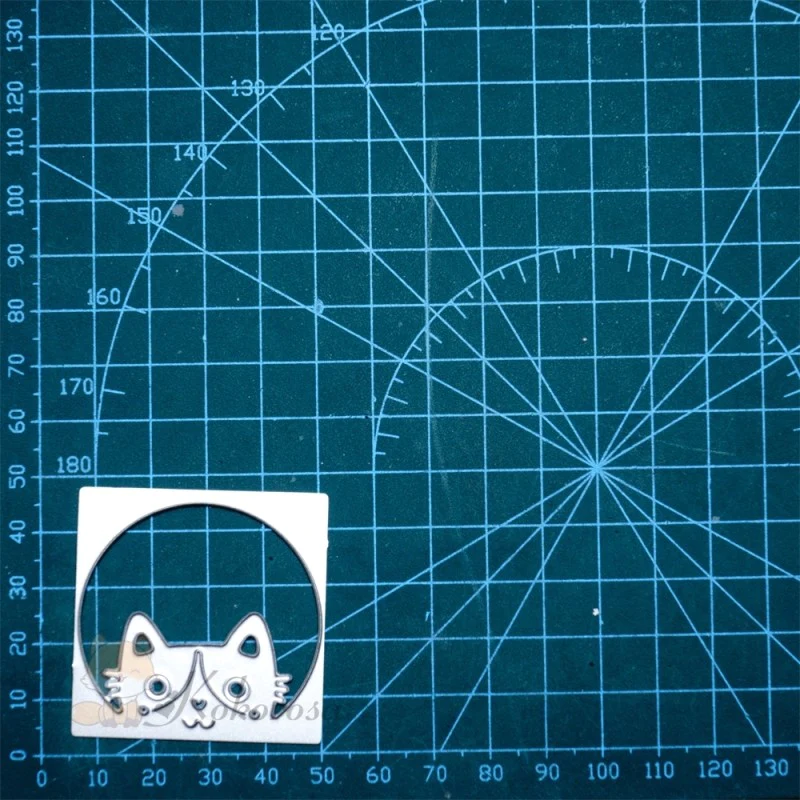
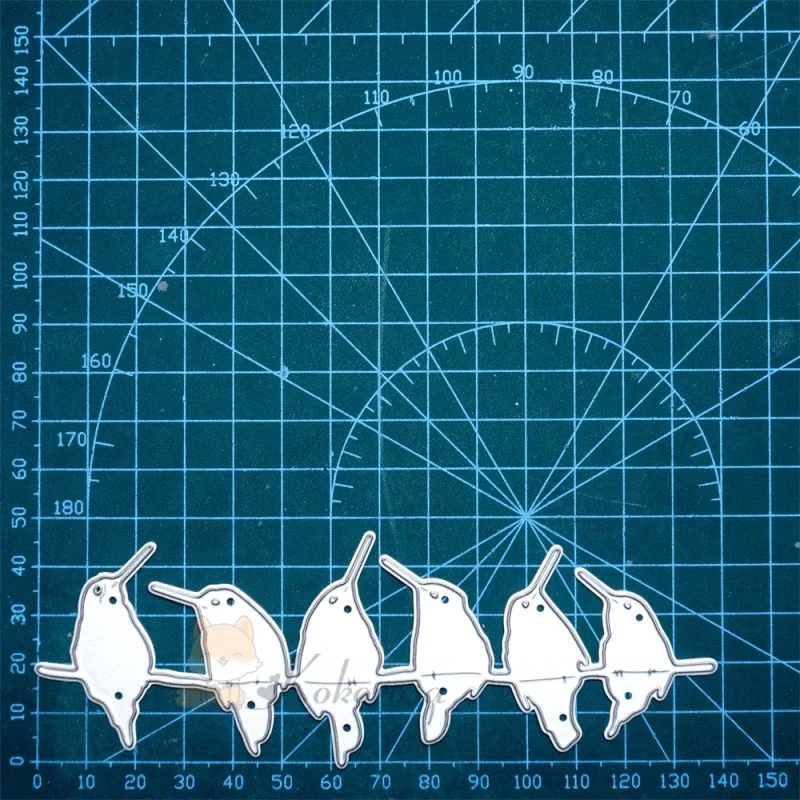
- Shaker Window Die Cut or Frame
- Adhesive Foam Tape
- Sequins or Other Shaker Fillers
- Glue
- Double-Sided Tape
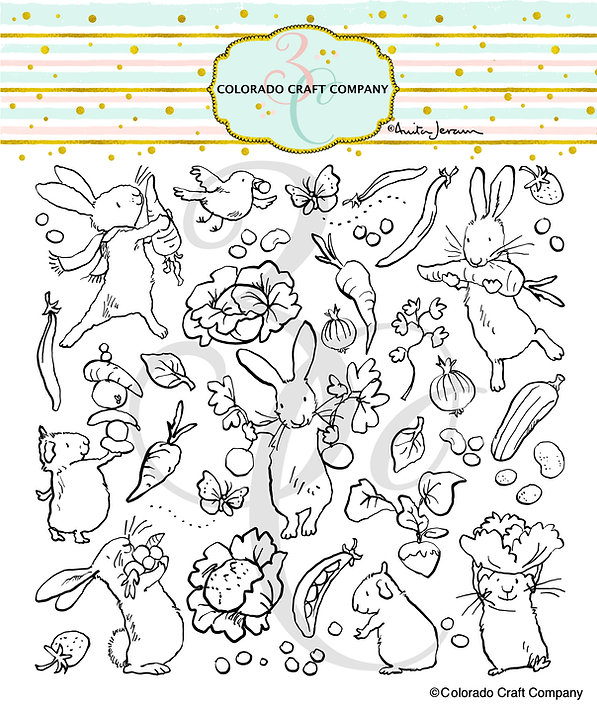
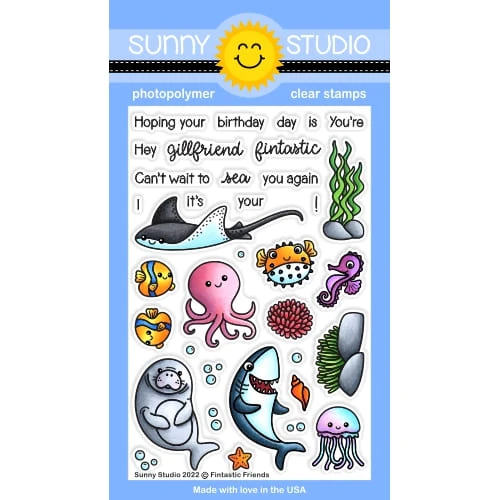
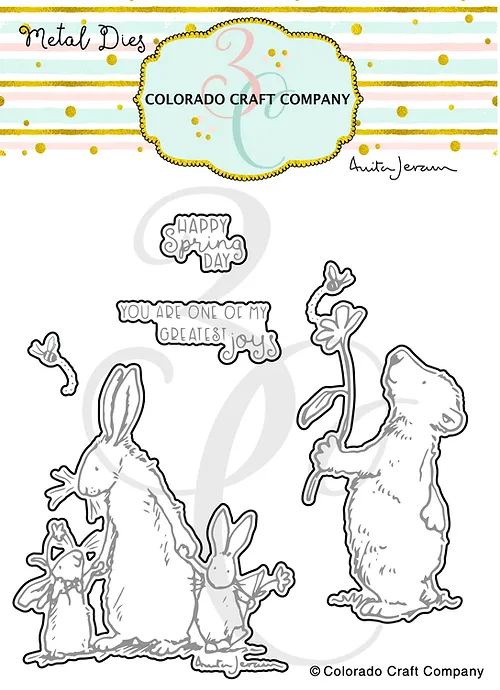
- Sentiment Stamp or Die Cut
- Ink Pad and Acrylic Block
- Scissors
- Embellishments (optional)
Step 1: Choose your cardstock and create your card base.
Choose a color and texture that complements your shaker window die cut or frame. Cut your cardstock to your desired card size (usually 4.25″ x 5.5″). Fold it in half to create a top-folding card.
Step 2: Cut out your shaker window.
Use your chosen shaker window die cut or frame to cut out the front panel of your card. Follow the instructions provided with your die cut or frame. Be sure to use a die cutting machine appropriate for the size and thickness of your die cut.
Step 3: Add adhesive foam tape.
Cut adhesive foam tape to fit around the edges of the shaker window opening on the back side of the front panel. Make sure the edges of the tape are aligned with the edges of the shaker window. This will create a raised border that will hold your shaker fillers.
Step 4: Add sequins or other shaker fillers.
Pour your chosen shaker fillers into the center of the front panel. Don’t overfill it, as this will prevent the fillers from moving around freely. Once you’re happy with the amount, carefully remove the backing from the foam tape and adhere the front panel to the card base, making sure the fillers stay in place.
Step 5: Add a sentiment.
Use a sentiment stamp or die cut to create a sentiment that fits the occasion or theme of your card. Ink up the stamp or die cut and stamp or cut it out on a coordinating piece of cardstock. Attach the sentiment to the card using glue or double-sided tape.
Step 6: Embellish (optional).
If desired, add additional embellishments to your card, such as stickers, ribbon, or gems. Be mindful not to cover up the shaker window or sentiment.
Your shaker card is now complete! Enjoy the fun and interactive element it adds to your handmade cards.